
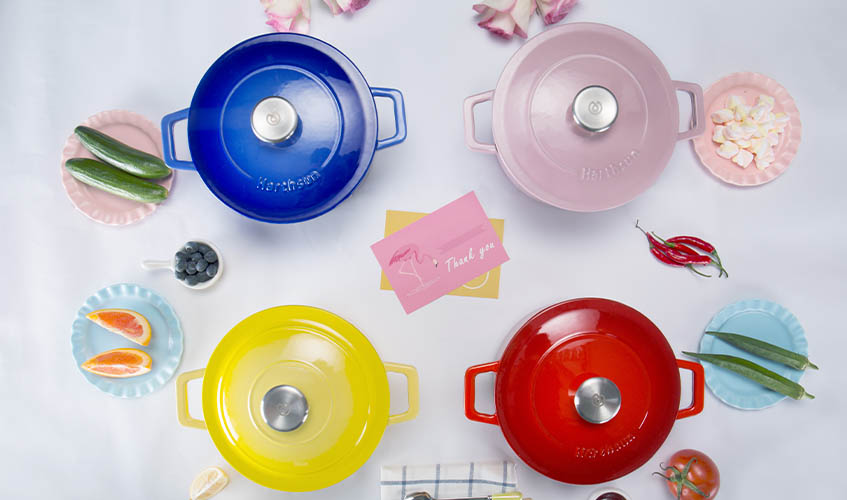
Enamel Cast Iron Casseroles: Cooking With Enamel Cast Iron Casseroles
Cooking with enamel cast iron casseroles combines the superior thermal mass and even heat distribution of traditional cast iron with a 100% rustproof, non-reactive porcelain-glass glaze. To master cooking with these versatile pots, always preheat gradually on medium-low heat with a bit of oil, utilize low-to-medium settings to prevent overheating, take advantage of the self-basting lid for long braises, and wash by hand with warm, soapy water after the vessel has cooled completely.
1. Why Enamel Cast Iron Casseroles Excel in Every Kitchen
Enamel cast iron casseroles (often called French ovens or heavy-duty Dutch ovens) are prized worldwide for their unmatched culinary performance:
- Steady Thermal Battery Effect: The dense iron-carbon core absorbs and retains heat exceptionally well, radiating it evenly from the base up the walls to eliminate hot spots.
- Acid-Safe and Rustproof: The protective vitreous enamel coating seals the reactive metal beneath, allowing you to simmer high-acid ingredients like tomatoes, wine, and citrus without metallic taste transfer or seasoning breakdown.
- Seamless Stovetop-to-Oven Versatility: Casseroles transition effortlessly from gas, electric, induction, or ceramic cooktops directly into the oven for roasting, baking, or slow braising.
2. Essential Rules for Cooking with Cast Iron Casseroles
To get the absolute best results and protect your investment for a lifetime, keep these core cooking rules in mind:
- Always Preheat Gradually: Never place a cold, empty casserole on high heat. Warm the pot slowly on low-to-medium heat for 3 to 5 minutes before adding cooking oil or food to prevent thermal shock and sticking.
- Embrace "Low and Slow": Because cast iron retains heat so efficiently, high burner settings are rarely necessary. Medium-to-low heat is more than enough for braising, simmering, and stews.
- Choose the Right Utensils: Protect the smooth porcelain interior by using wooden, silicone, nylon, or heat-resistant plastic utensils instead of sharp metal tools.
- Avoid Thermal Shock: Never plunge a scorching-hot casserole into ice-cold water. Always let the vessel cool down completely before washing to prevent the enamel from cracking or popping.
Enamel Cast Iron Casseroles vs. Alternative Cookware
| Performance Metric | Enamel Cast Iron Casserole | Stainless Steel Stockpot | Traditional Raw Cast Iron |
| Heat Retention | Exceptional (Uniform thermal mass) | Moderate (Base-heavy heating) | Exceptional (Requires oil seasoning) |
| Acidic Food Safety | Complete (Inert glass glaze shield) | Complete (Non-reactive metal) | Poor (Leaches iron, strips seasoning) |
| Seasoning Required | None (Ready right out of the box) | None (Ready out of the box) | Required (Needs regular oil seasoning) |
| Table Presentation | High (Vibrant colors and aesthetic glazes) | Low to Moderate (Industrial utility look) | Moderate (Rustic, heavy iron appearance) |
Frequently Asked Questions (FAQ)
Do I need to season an enamel cast iron casserole before use?
No. Unlike raw cast iron, enameled casseroles are sealed with a non-porous glass glaze that requires zero oil seasoning. You can wash the pot with mild soap and water and start cooking immediately.
Why is my food sticking to the bottom of my enamel casserole?
Sticking usually happens because the pot was heated too quickly on high heat, or oil was added to a cold pan. Always preheat your casserole gently on medium-low heat for a few minutes before adding your cooking fat and ingredients.
Can enamel cast iron casseroles be used on induction cooktops?
Yes. Because the core of the casserole is made of high-density ferrous cast iron, it is completely magnetic and works efficiently on all induction, gas, electric, and glass-ceramic cooktops.
How do I clean burned-on food from my casserole?
Let the pot cool completely, then fill it with warm water and a few tablespoons of baking soda. Let it soak for 15 to 20 minutes to loosen the residue, then scrub gently with a soft sponge or nylon pad. Avoid steel wool or harsh metal scouring pads.